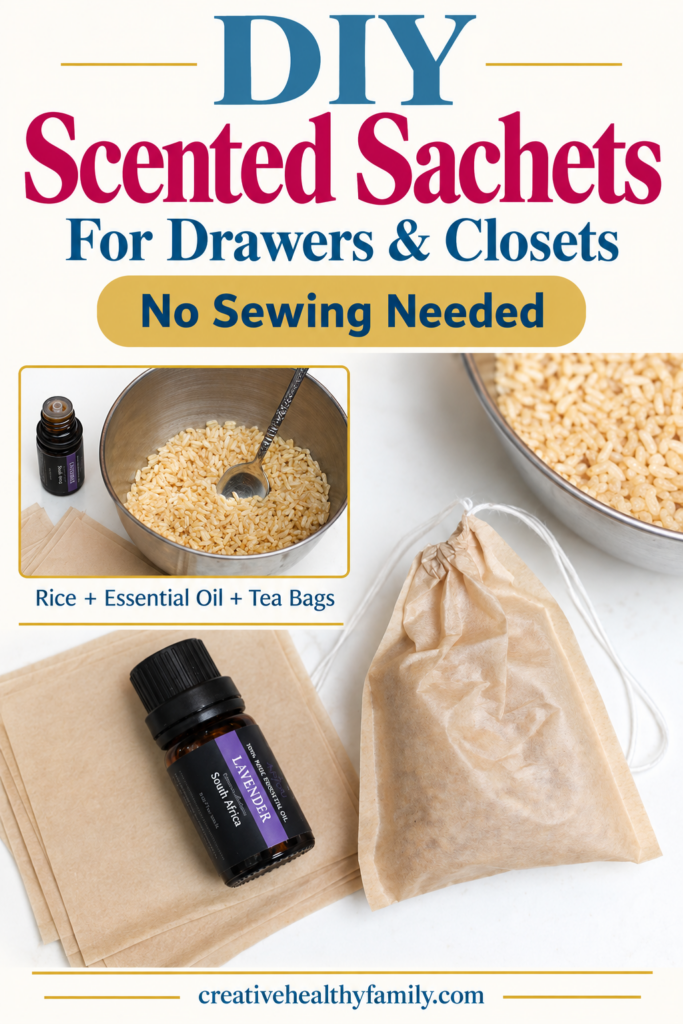
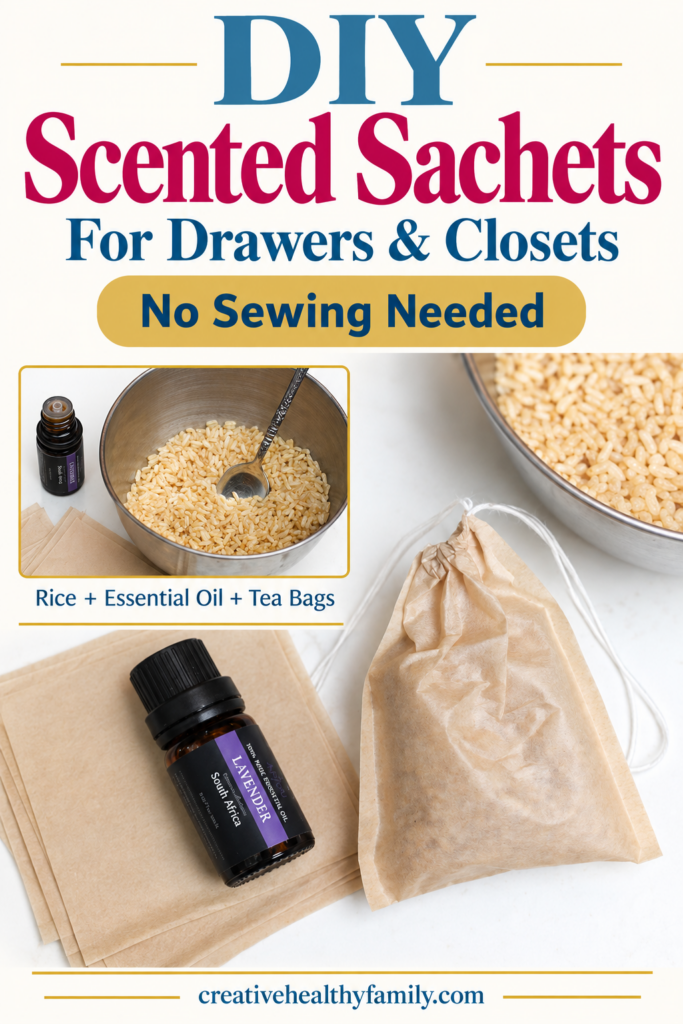
These DIY natural scented sachets are an easy way to add a gentle fragrance to drawers, closets, and linen cupboards. Made with uncooked rice, your favorite essential oil, and small drawstring bags, they require no sewing. Below, you’ll find the simple instructions, scent combinations to try, and tips for refreshing your sachets when the fragrance fades.
Why Should You Make Your Own Scent Sachets?
Why make your own scent sachets? Because they’re so easy to DIY that there’s really no reason to buy them! Need more? Okay, how about this: sachets can replace nearly every “smell-good” item in your home, from candles to air fresheners to fabric sheets. No, you can’t burn them or toss them in the dyer, but a well-made DIY sachet accomplishes the same thing that each of these products does: makes everything smell better.
Consider this: many fragrance products are loaded with synthetic chemicals that can wreak all sorts of havoc on your body. Dryer sheets are among the worst offenders, since they leave that chemical residue behind on your clothes. Since most people use dryer sheets just to add a bit of “fresh from the laundry” scent to clothes, using sachets is the perfect alternative.
Let’s see how to make them, then we’ll dig a little deeper into all of the ways you can use them in place of other household fragrance products.
DIY Natural Scented Sachets for Drawers, Closets, and More! (No Sewing!)
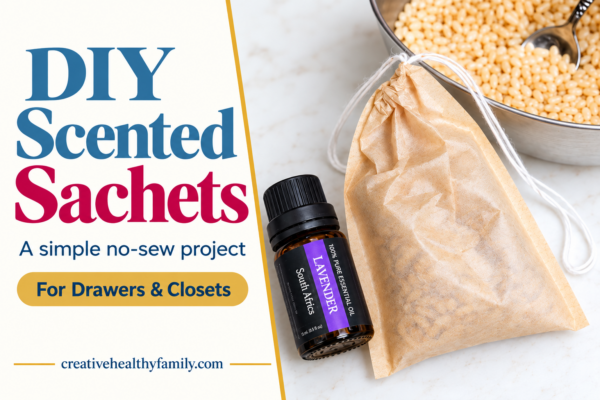
DIY sachets come down to three basic things: scent, a scent “carrier,” and something to put the “carrier” in. That’s it. Let me show you how I made my DIY scented sachet, then I’ll give you some alternatives to all three of the above. The tutorial below makes enough for a bunch of sachets. How many depends on how much you put in each bag, but you’ll get at least 5 out of it.
Supplies:
- Essential oil (I went with a single scent and used lavender, but we’ll explore more options below)
- 1 cup of uncooked rice (brown or white is fine)
- Empty tea bags (the kind you buy for loose leaf tea)
- Stainless steel bowl (a mason jar or even a baggie works fine, too)

How to Make DIY Natural Scented Sachets
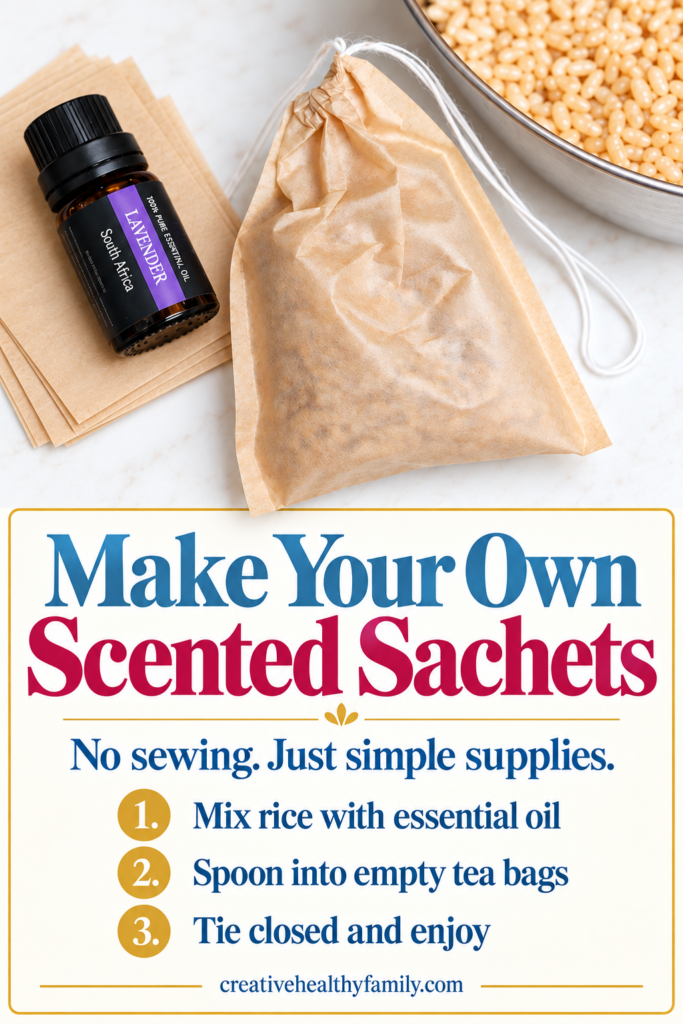
- Pour the rice into bowl
- Add about 10 drops of essential oil to start
- Stir well (or cap the mason jar and shake)
- Give it a sniff from about a foot away (don’t stick your face right over it, in other words). If it’s not strong enough, add more scent. If it’s too strong, add a little more rice.
- Once you’ve found the perfect balance, use a spoon to scoop the scented rice into the tea bags.
- Pull the strings and knot it several times to make sure it stays closed.

That’s it! No sewing or complicated materials are required. I told you it was super easy!
One note about finding the best scent balance: you want to go a little stronger than you would for something you use on your body (like bath salts), especially if you’ll be using them in large closets or other wide-open spaces. Try adding the essential oil then take a few steps back to see if you can still smell it.
Other scents and materials that you can use in your sachets
Now, let’s talk alternative materials, as every part of this DIY project can be substituted. Isn’t that great? We’ll get to some of my favorite scent combos in a second. Let’s talk about the rice and teabag alternatives first.
Alternatives to the rice
You can use quite a few things in place of the rice, including:
- Dried corn cob: dry it out yourself or buy it at a feed store
- Dried herbs (they’ll absorb essential oils and add their own scent kick)
- Plain oats: the kind you use in homemade oatmeal
- Cotton balls: yep, plain old cotton balls work just as well when you don’t have something else on hand!
You can also buy unscented aroma beads, but I am not a fan. Since they’re made of plastic, they kind of ruin the whole “all natural” vibe we’re going for with our sachets.

Teabag alternatives
For the bag itself, the options are endless. If you want to make pretty sachets to give as gifts, try fabric scraps. You’ll either need to sew them shut or tie them really tightly with ribbon. You can also buy little cotton muslin drawstring bags or see-through organza bags. You can even just put everything in an envelope and seal it up! Those are best for drawers or other out-of-sight spots, though.
If you want to turn this into a family craft, let your kids decorate the bag! Colored pencils and stickers work well on the tea bags. Markers, paint pens, and stickers are good for the muslin bags.
Delightful combinations to try in DIY natural scented sachets
The scent options are limited only to what essential oils you have on hand (or can get your hands on). Actually, scratch that, you’re not even limited to just essential oils. Dried flowers, herbs, cooking extracts and even spices also work brilliantly. Some great ideas include:
- Sweet orange oil, lemon & lime for an uplifting cheery sachet.
- Rosemary & mint for a school bag sachet (both are considered good focus-boosters)
- Lavender & lemon: both relaxing and uplifting
- Cinnamon & nutmeg: a great fall scent for your car!
- Chamomile & Bergamot: a good combo for relieving anxiety
Want to bring those cozy scents into your kitchen, too? Try this easy fall simmer pot with orange peels and cinnamon for another simple seasonal project.
How Long Do Homemade Sachets Last?
The fragrance gradually fades, and how long it lasts depends on the scent, amount used, and where you place the sachet. As a rough guide, check yours after one to two weeks. If the scent has faded, empty the filling into a bowl, mix in a small amount of essential oil, and refill the bag once the oil is evenly distributed.
Refreshing your DIY scented sachets lets you reuse the same bags and adjust the fragrance to suit your preferences.
Use DIY Natural Scented Sachets for Your Home, Car & Everywhere In-between
Where you can use your brand-new DIY scented sachet? Pretty much anywhere you can think of! Some ideas:
- Your car: tuck them under the seats, in that little cubby under the radio, or under the strap on your visor. Just don’t hang them from the mirror. You really shouldn’t hang anything there!
- Closets: hang them on a hanger towards the back, pop them into out-of-season coats, or even just toss them into the corners at the back of the closet.
- In your gym bag, book bag, or even your purse (go with a lighter scent for smaller bags).
- In your drawers to keep laundry smelling fresh without all the harsh chemicals of fabric softener sheets.
- On a shelf: tucked behind picture frames and books, or put prettier ones in a bowl.
- The bathroom: tucked between towels, under your sink or behind the toilet.
Basically, anywhere! Just remember, if you have pets, you’ll want to put them higher up. While some essential oils are pet-safe, you still don’t want them eating them!
Once you know how to make these DIY natural scented sachets, you’ll never go back to store-bought!
Final Thoughts
These DIY natural scented sachets are a simple way to add a personal touch to your drawers and closets using just a few inexpensive supplies. Start with one scent you enjoy, keep the fragrance light, and refresh the filling when it begins to fade. Tucked into pretty fabric bags, they also make thoughtful little homemade gifts.

Ursula, thank you for sharing some amazing ideas.
How long are the scents supposed to last? I used
a Pumpkin Spice oil, added more than 10 drops to
white rice in a sachet and it only lasted about a week.
Is that about the life expectancy?
Thanks,
Holly
Hi, Thank you so much for your comment and so happy you liked the idea. Yes, about 1-2 weeks and then you need to add more drops. Hope this helps 🙂